Doing It Yourself
So let's talk about audio DIY. I originally got in to DIY through a combination of curiosity, GAS, and perpetually being broke. I was always a studio gear nerd, but I knew nothing about electronics and DIY. A friend introduced me to the likes of CAPI and DRIP Audio who both got great reviews, but seemed somehow inacessible to me. A bit out-of-my-league as a complete novice. Well, over the past few years DIY has morphed in to it's own passtime for me. I find it's a good way to feel like you're still being productive when you're in a creative rut, and a good way to save money on equipment (of course, whether you needed that equipment in the first place is a whole other argument).
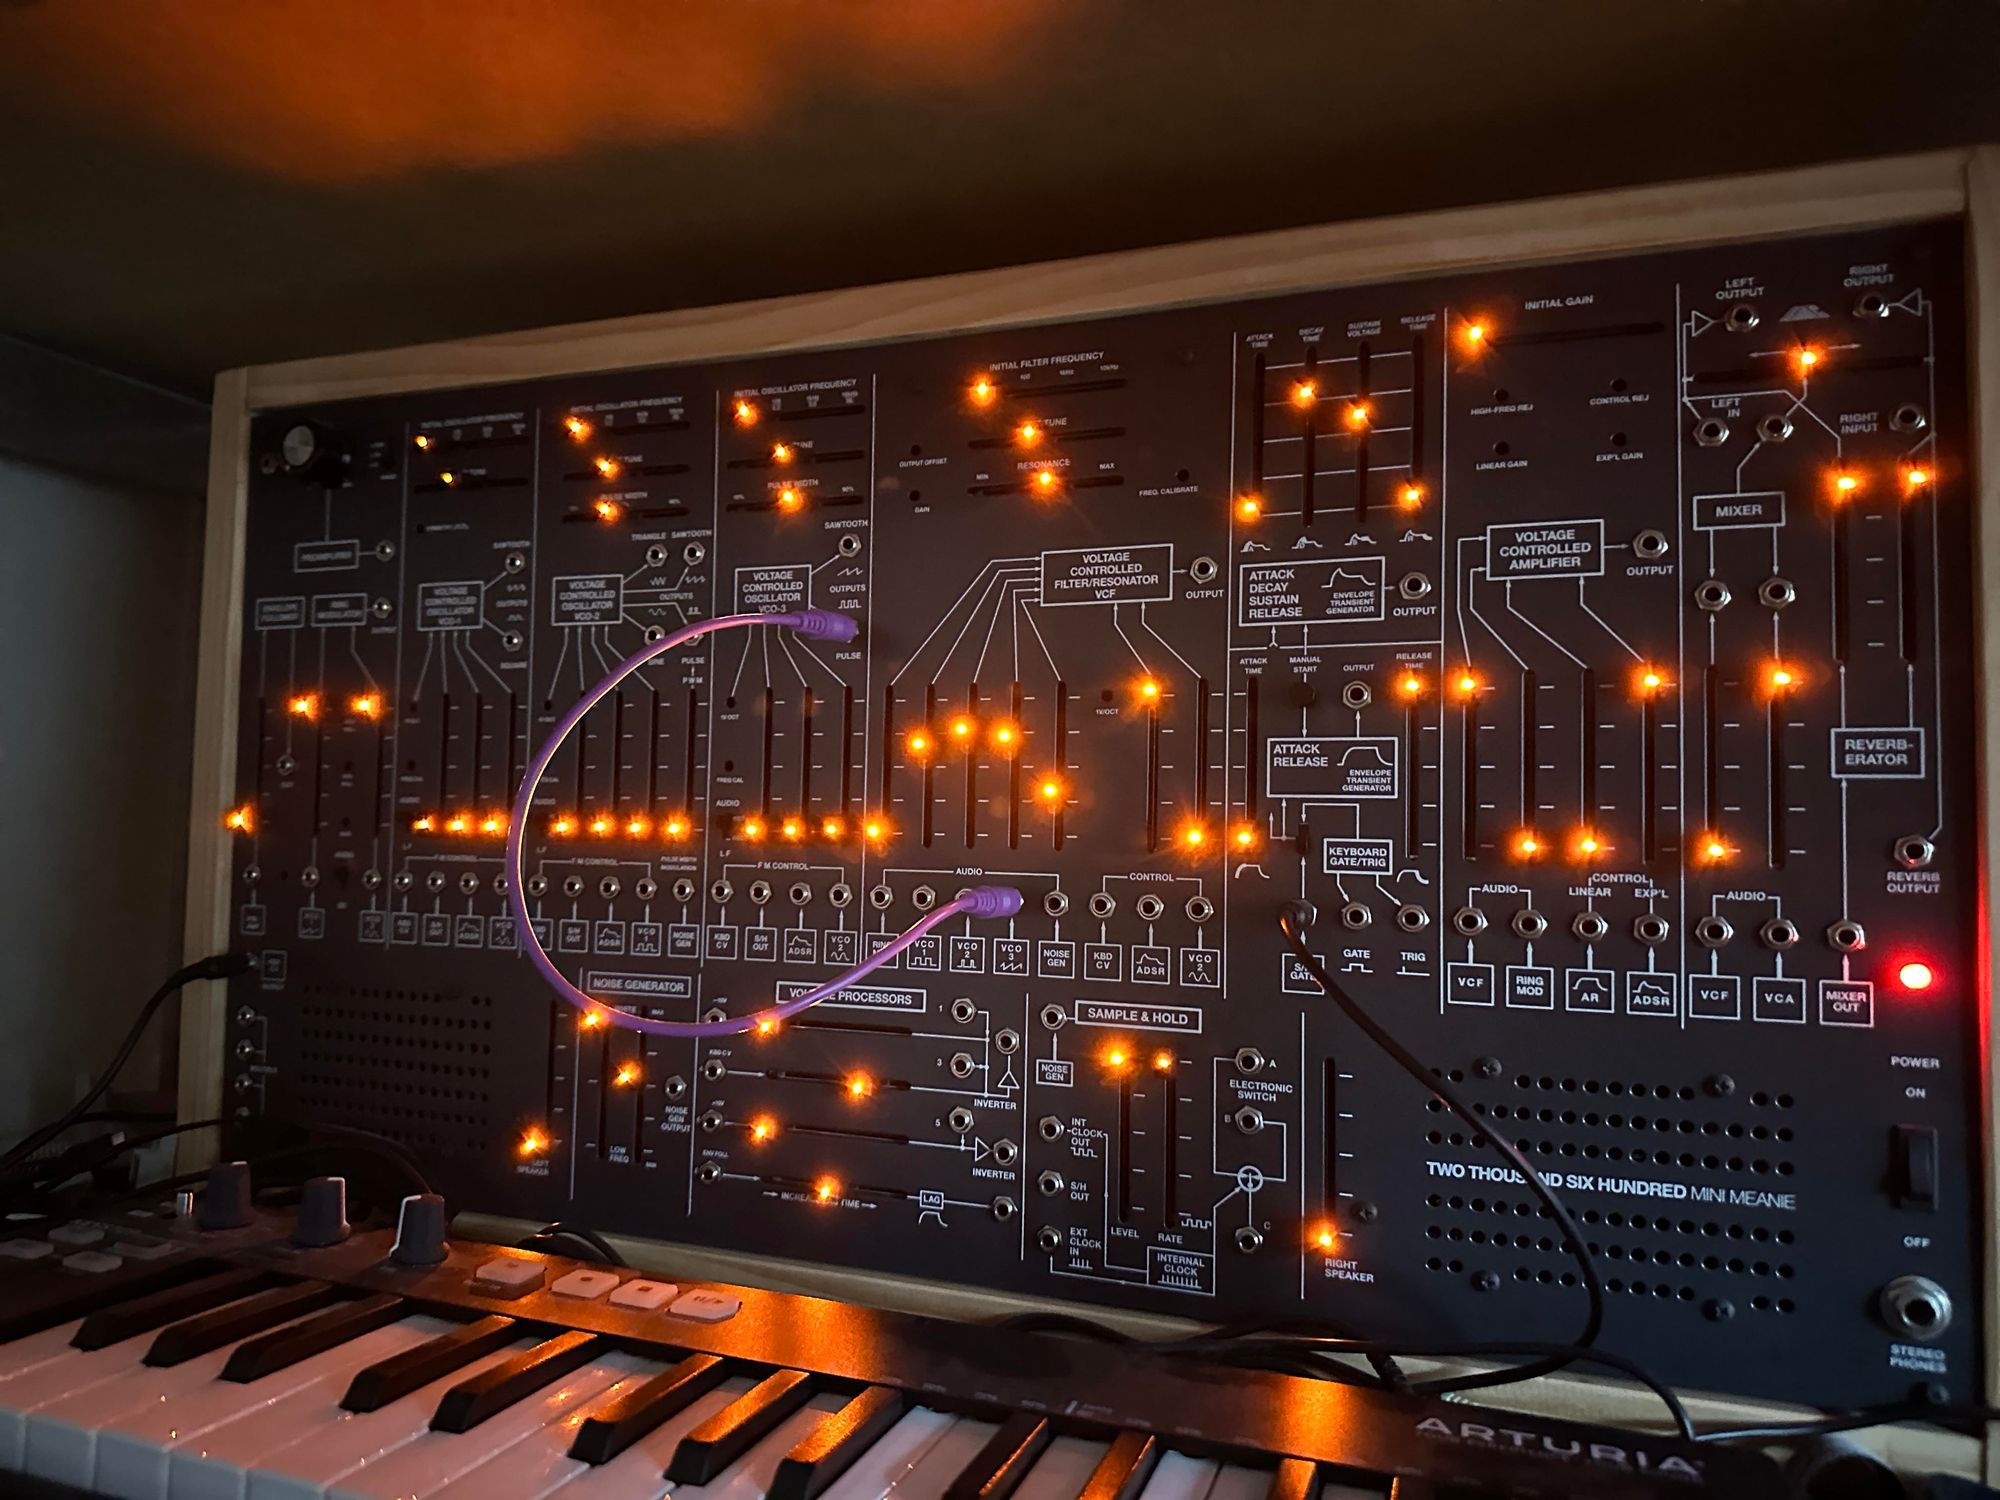
It took some time to build up the confidence to start, but I finally found a project I wanted to try. I always wanted an ARP 2600, but there was no way I could ever afford an original (still can't!). I saw that the Human Comparator had a DIY kit to build your own version of a 2600, and from all online reviews at the time, it was pretty decent. That was good enough for me! I ordered the PCB's, panel & components kit, & then bought an iron and set out to learn how to solder. I realise I probably should have done that in the reverse order, but who can really resist a good impulse buy? Deal with the consequences later.
Thankfully, the PCB's were really well labelled, and the component kit was all packaged and labelled to make it as easy as possible. It was a pretty huge build, a massive main PCB and a lot of components, but it went well. When all the components were in, I nervously fired it up and there was no magic smoke. WINNING! It mostly worked first time! There was one small solder bridge to fix, but fortunately I work with a great audio electronics tech who found it and fixed it in about 0.3 seconds. After that it was all systems go!
With the success of the TTSH, I tried on a clone of a piece of vintage audio processing kit. I built a Hairball Audio 1176 Rev A clone for some friends as a wedding gift (they're both musicians, obviously.. it's not like I just give 1176's to anyone). It also turned out pretty well and I loved how it sounded. At some point in time I'm definitely gonna build another one or two (for myself this time).
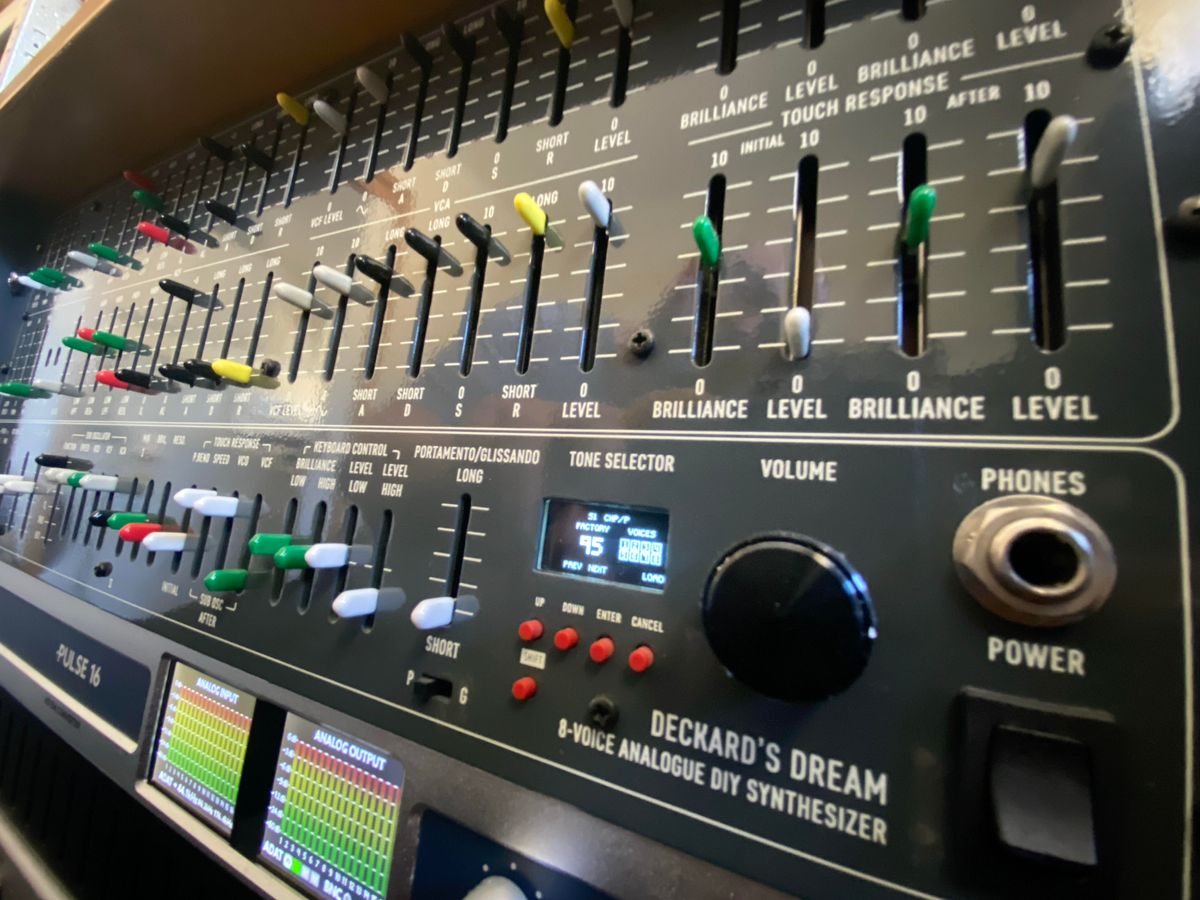
After going 2 of 2, I decided to go big or go home. Or rather, go big and then go home. Go home every night and solder for hours and hours in a tiny shipping container shed. For months. But at the end of those months I had a something damn cool! A Black Corporation Deckard's Dream! And lo and behold, that also fired up first time with no problems! The Deckard's Dream is a remake of a Yamaha CS80. So if I couldn't afford an ARP 2600, there was no way in hell I could ever afford a CS80! This was good enough to quench the thirst.
After all that, the pandemic hit, so I had a bit of extra time on my hands, that's when I started getting in to Eurorack - as a lot of people did. It was really great for a while, I built some basic utility modules to get my head around the whole Eurorack thing, but then I hit a roadblock. Surface mount. Scary. Apart from a couple of caps on the TTSH (which I managed to do by hand) and Deckard's Dream (I actually got the audio tech from work to do the SMD stuff on the Deckard's Dream because I thought it was beyond me). The first SMD module I tried was a full size Ornament and Crime, which to this day is still one of my favourite modules. The components were all 0805 size (which is probably the largest surface mount size you'll find in Eurorack), and all the forum folks said it was probably the easiest surface mount module to tackle, so I watched a bunch of youtube how-to videos, grabbed some cheap chinese practice boards to warm up, and dove in.
The first Ornament & Crime I built worked fine apart from an issue with one jack. It was one dodgy solder point on a capacitor which I managed to figure out just by following the trace from that jack connection and going back through the components that lead to it. I reflowed the solder point and all was well! Since then I've built another 5 Ornament & Crime modules and I use at least three of them in every patch.
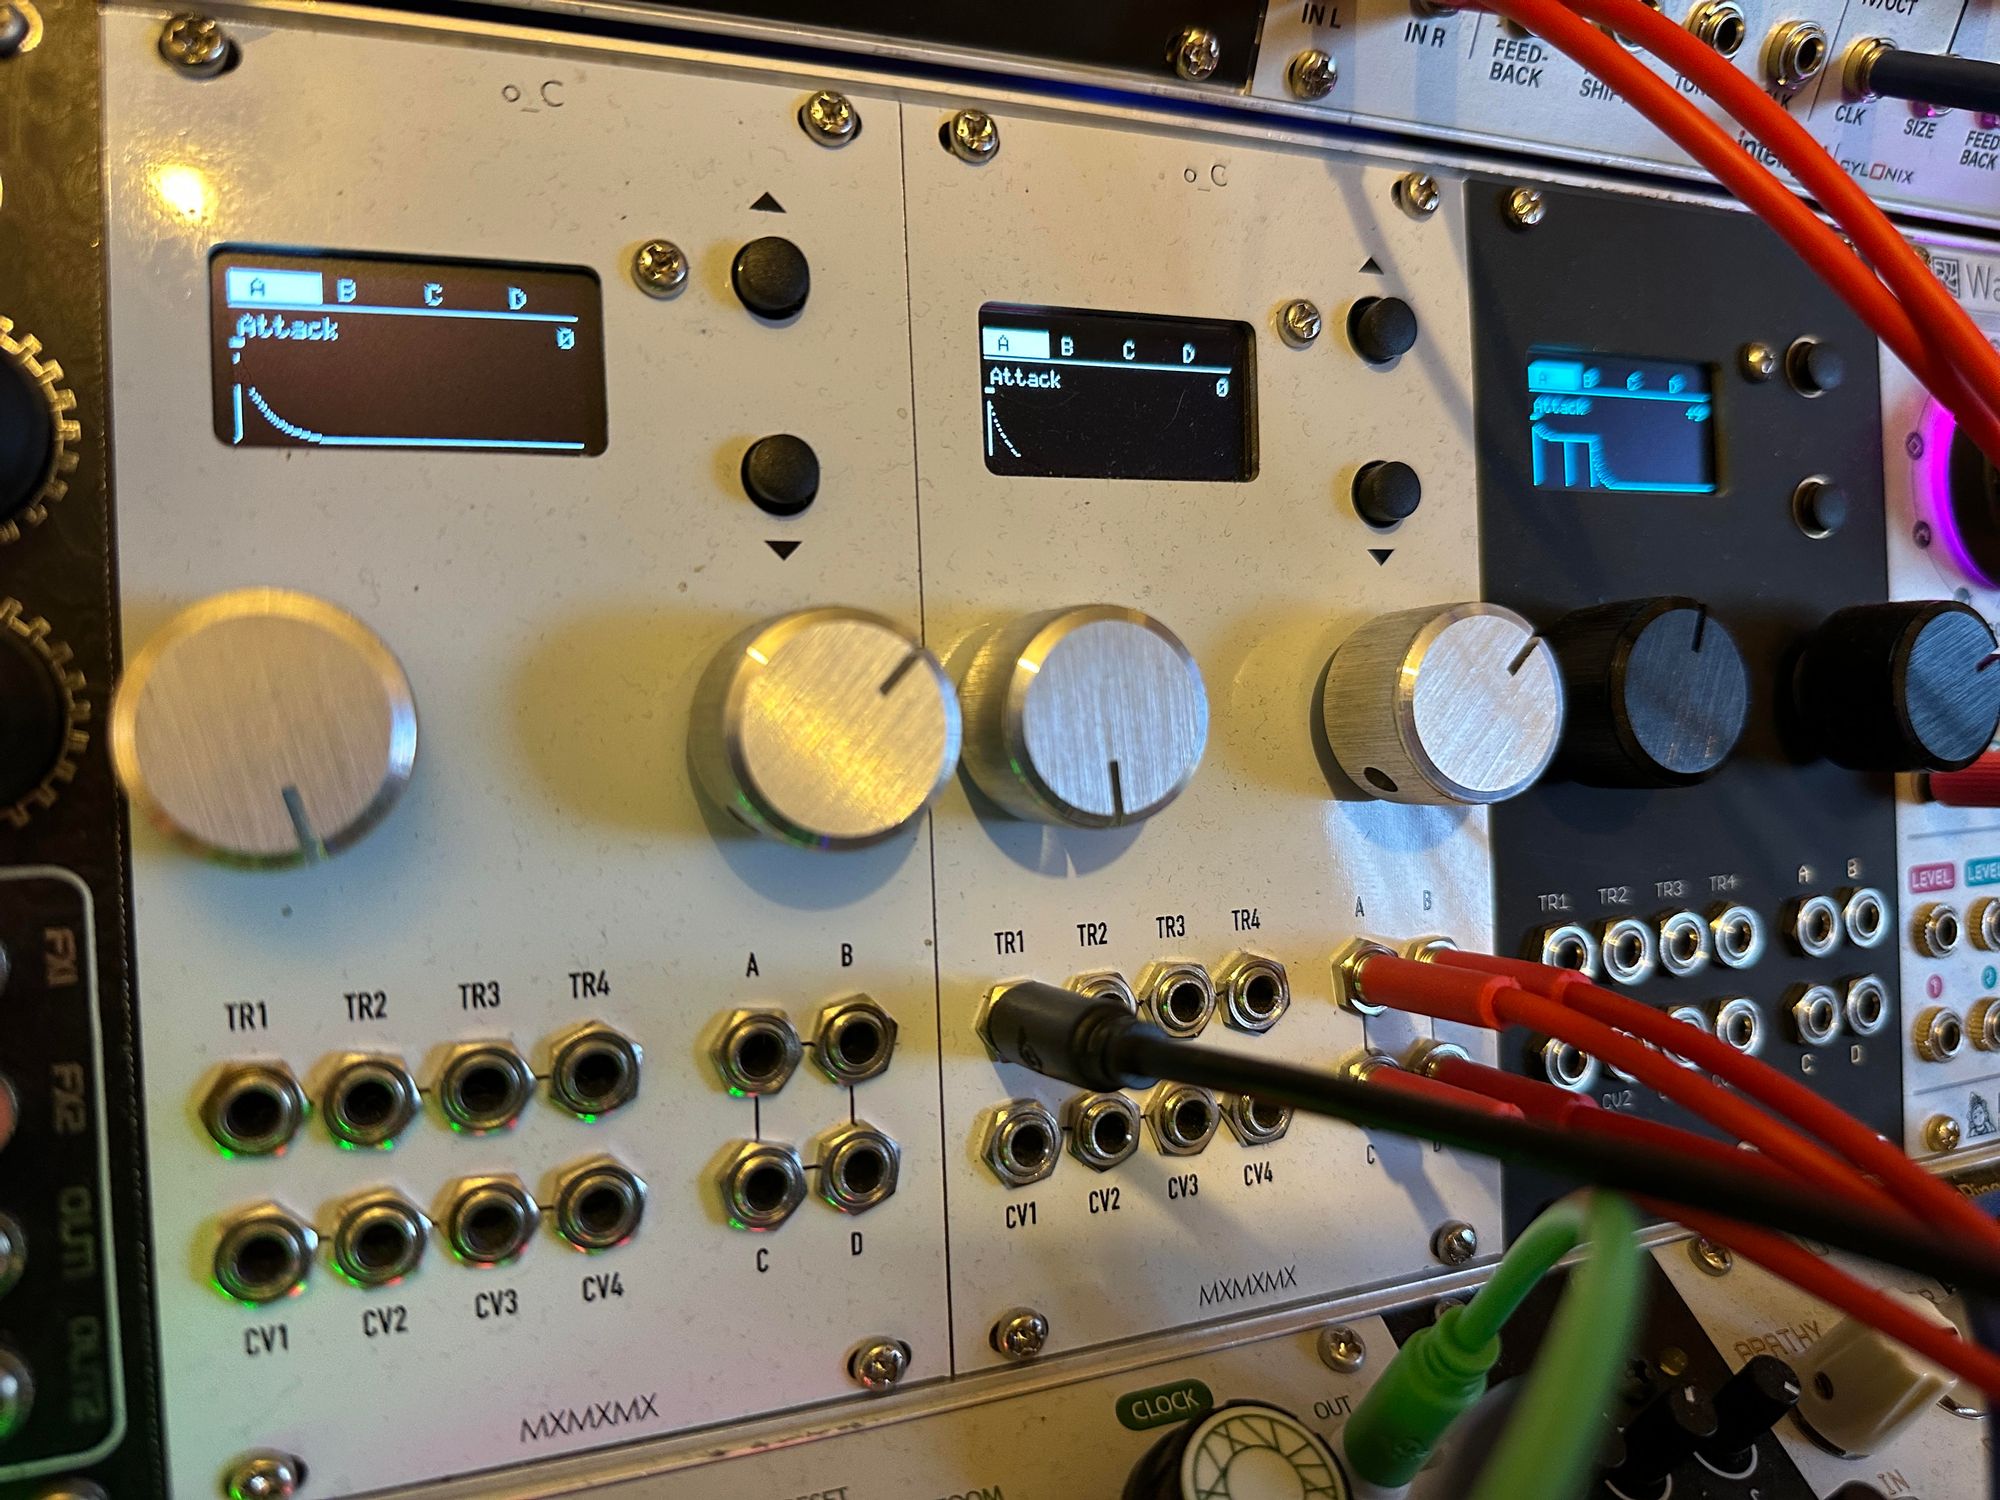
The next logical step after Ornament & Crime is the open source Mutable Instruments modules. I built Branches, Shades, Ripples, Clouds, Tides, Shelves, Veils, followed by a few of the NonLinear Circuits and Befaco through-hole modules just to break things up a bit. I managed to amass a pretty solid sound-design based eurorack rig after all the soldering was done (who am I kidding, it's never done).
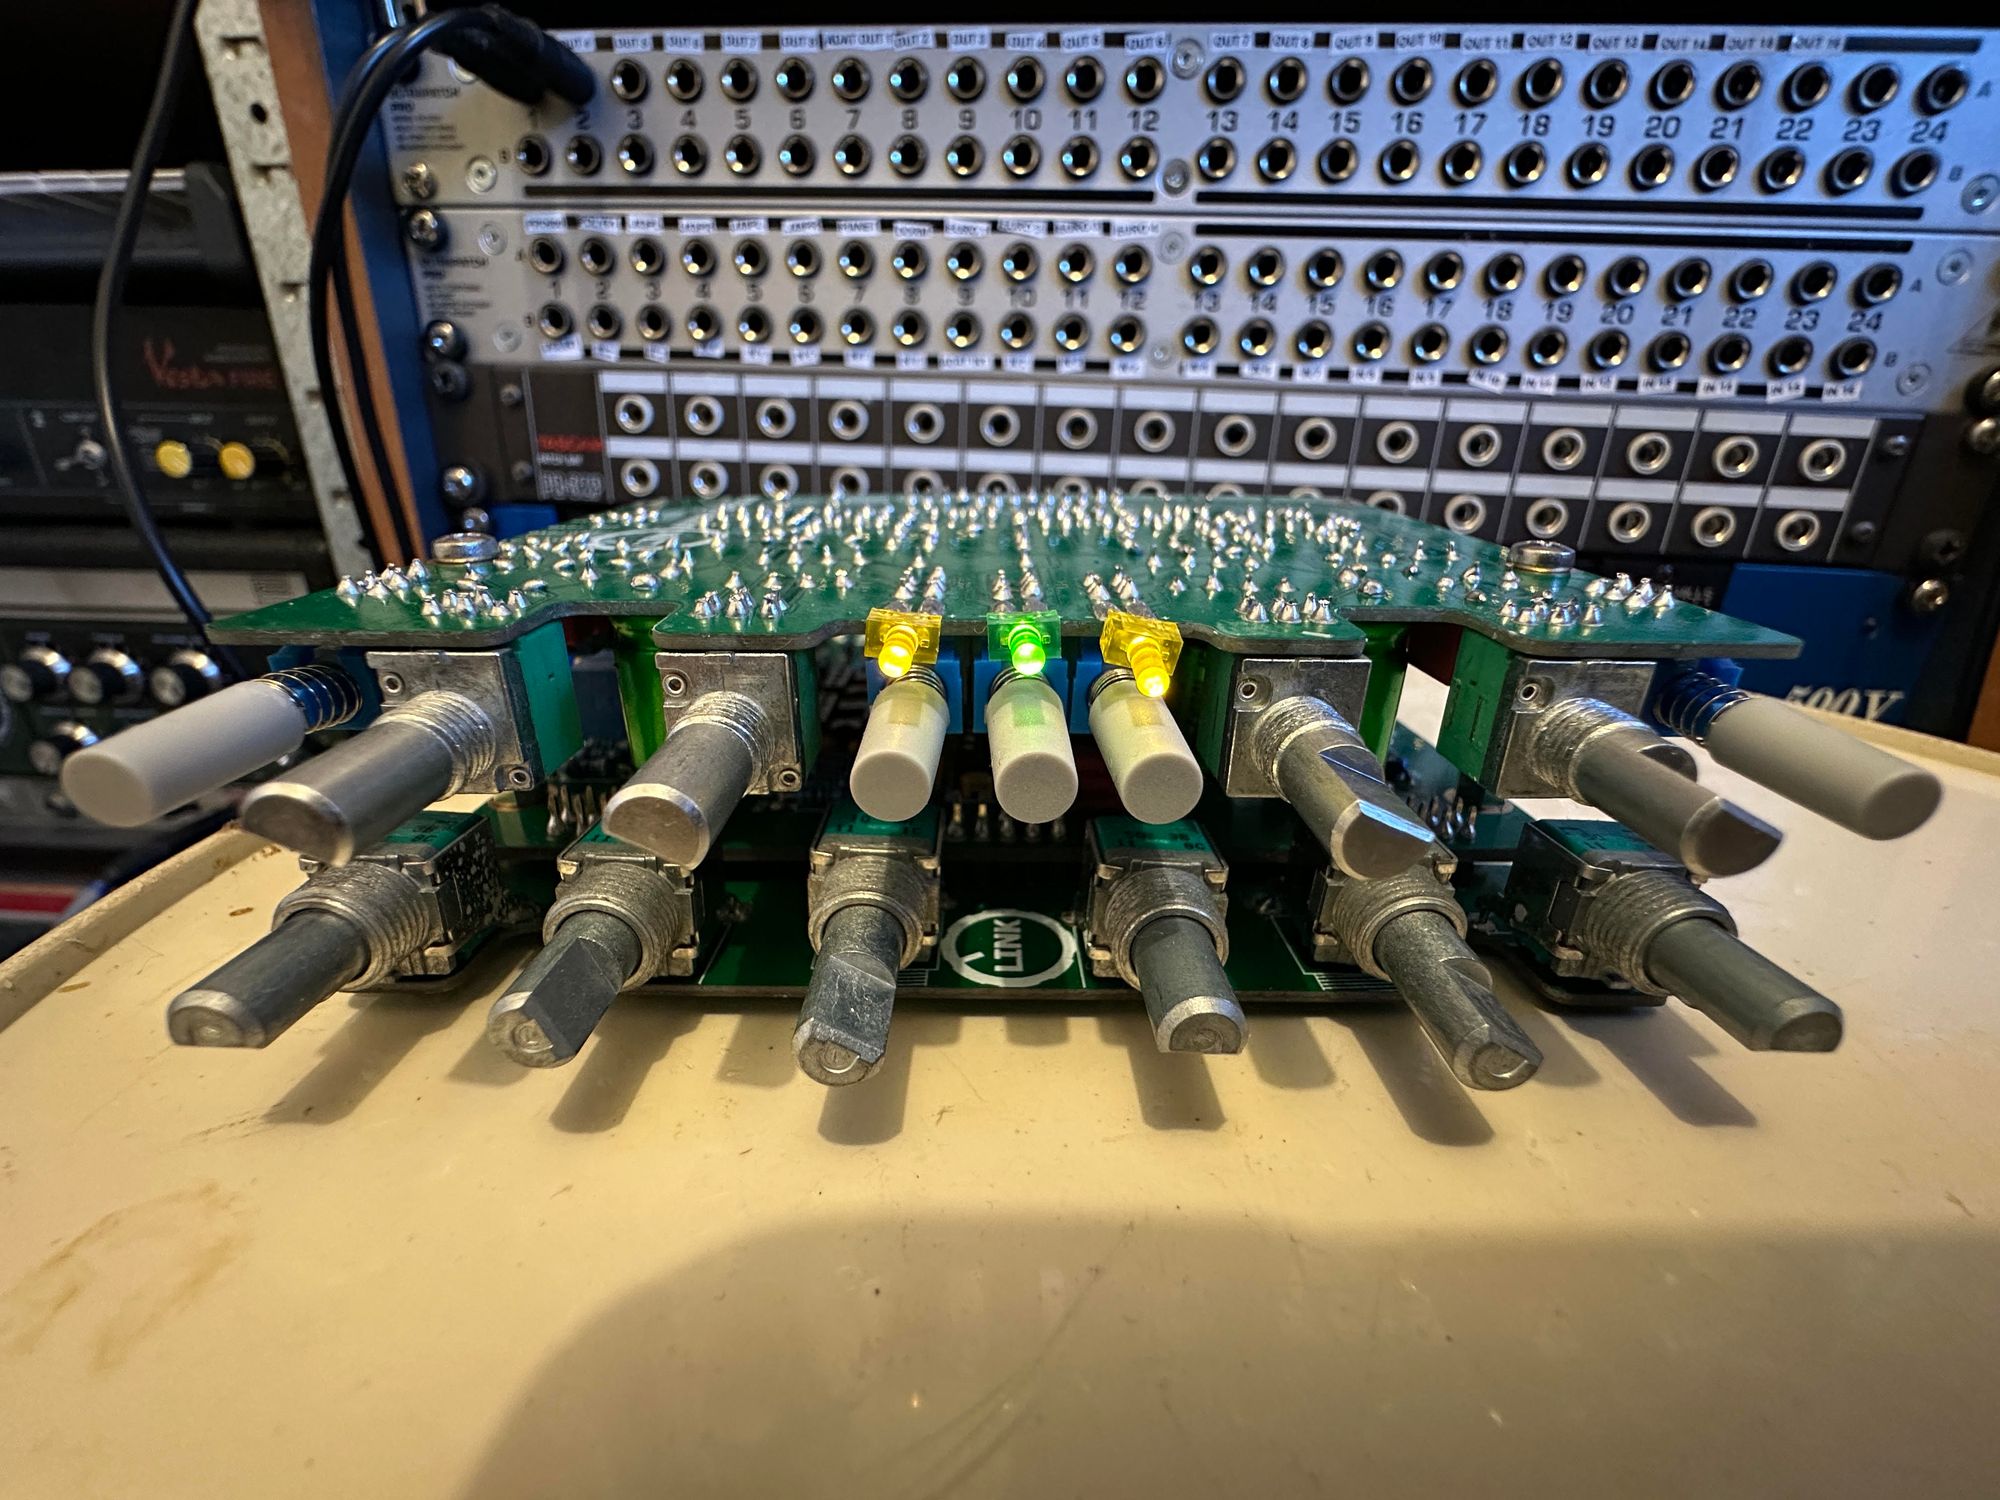
But now it's time to dive back in to building processing gear. I have a 500 series rack that is begging to be filled with nifty preamps and EQ's, so I recently decided to grab a couple of the Link Audio Design SLQ51X EQ's. I went with the Brown version, which is based on the classic EQ section from an early SSL 4000 series desk. I figure they'll be a good workhorse EQ, I use SSL EQ plugins a lot, so why not give a hardware version a crack, too?
The build was once again pretty straight forward, there are quite a few components but everything is nicely labelled and the build guide is super handy. Assembling the units requires a ribbon cable (provided) and the PCB's fit together in a "book" style, which I hope to see more of in 500 series DIY, it makes for easy trouble-shooting!
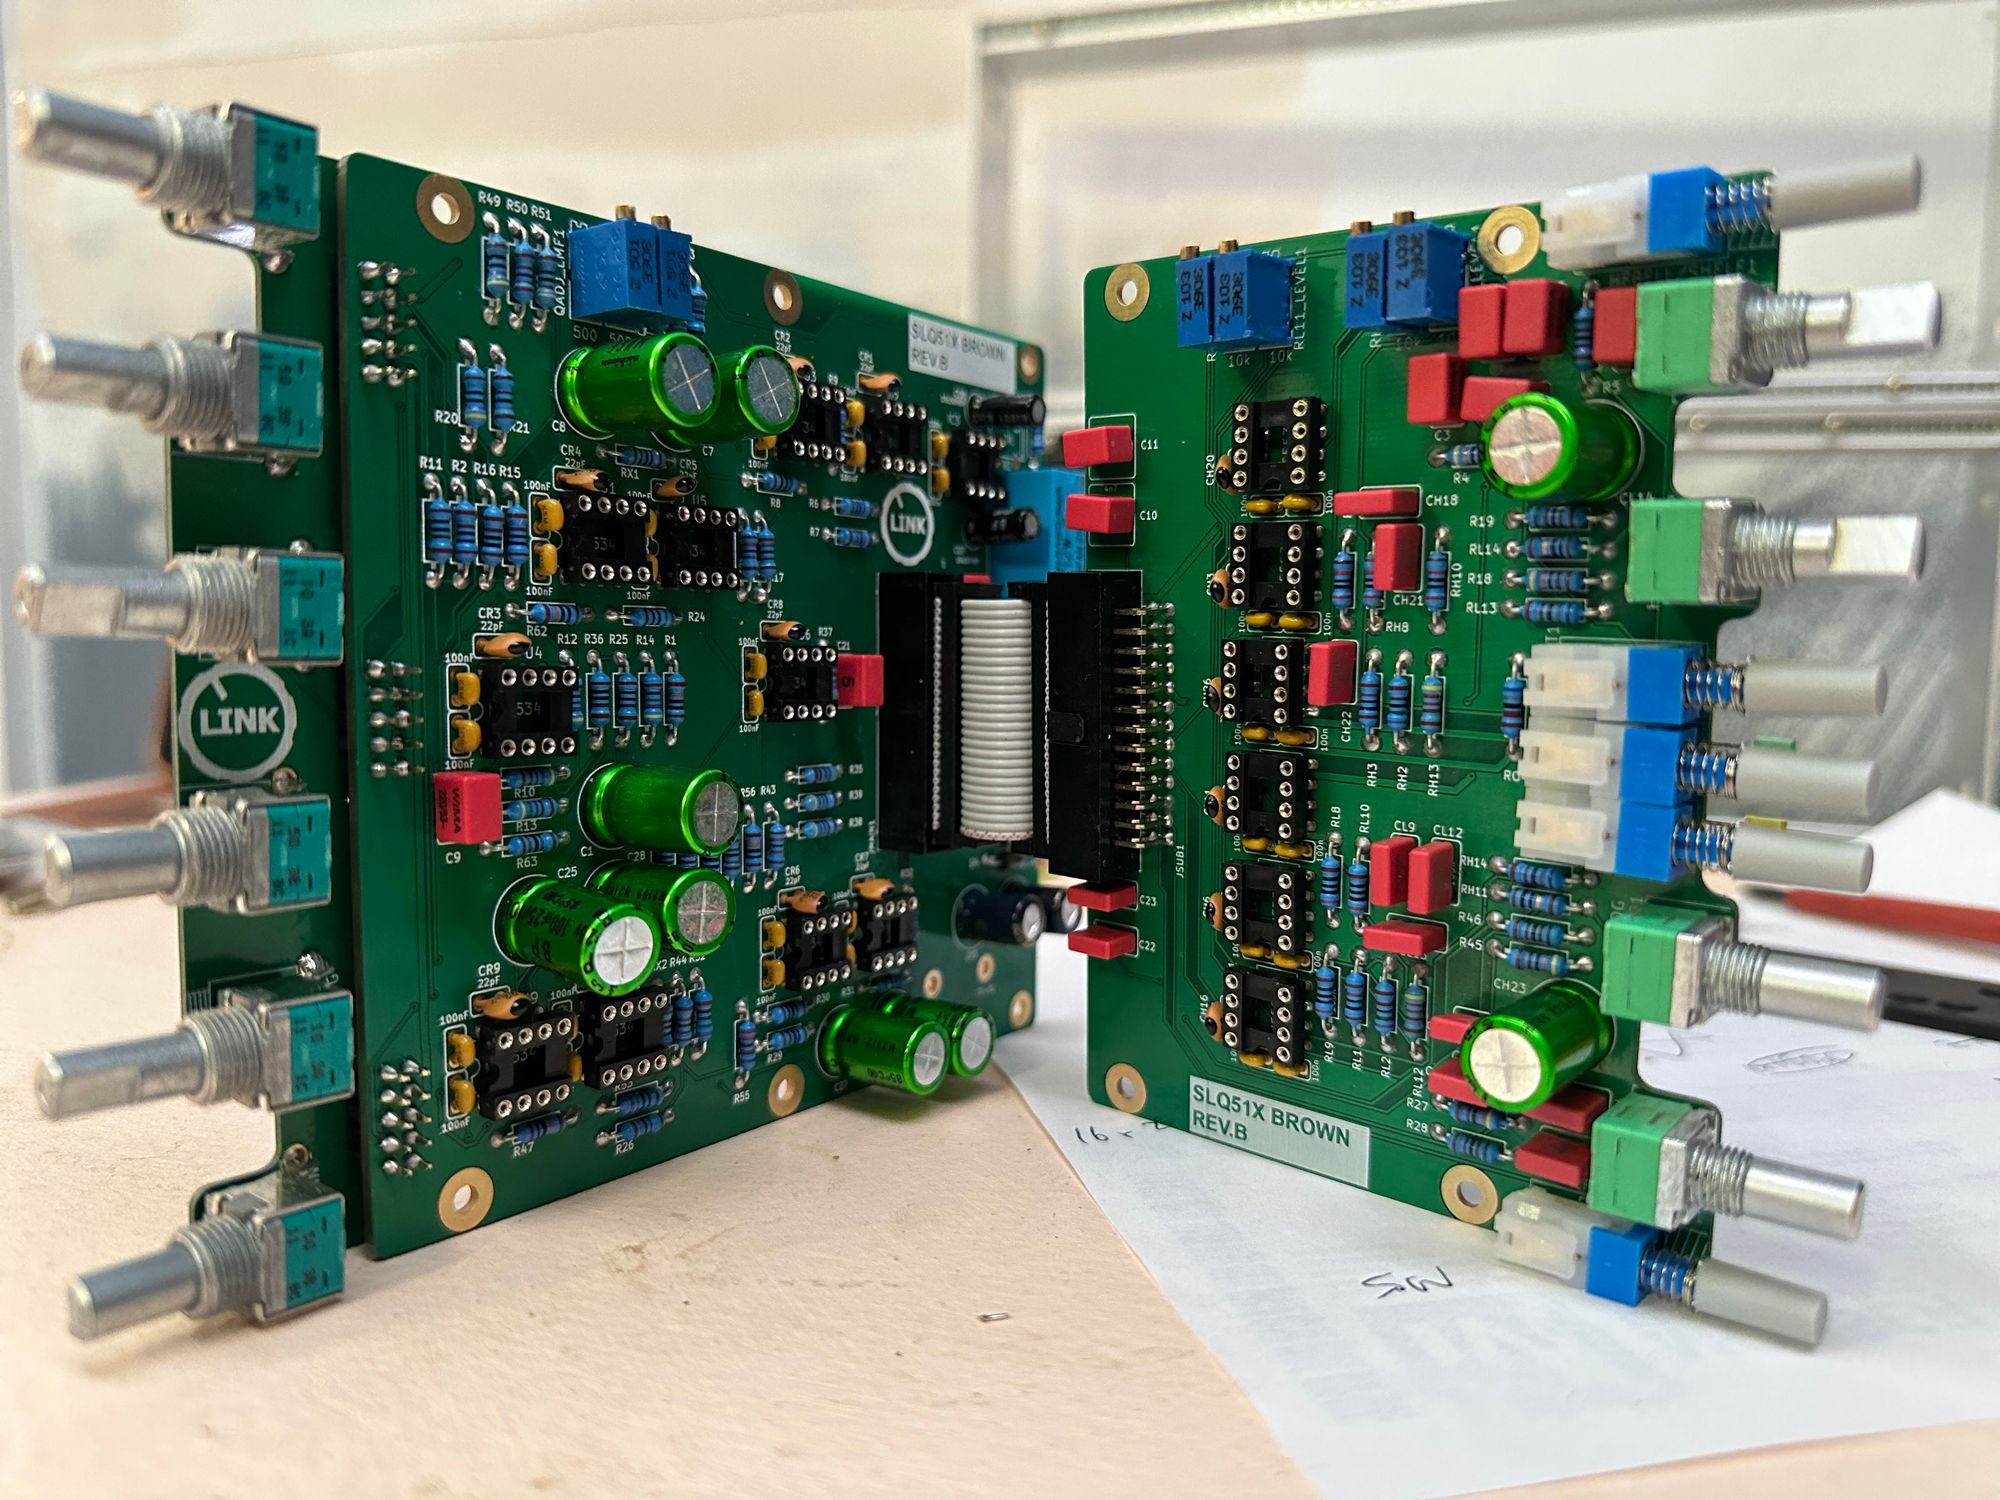
Both units powered up first time, and the voltages are roughly where they need to be. Next up is the calibration process, which is always a learning experience but should be fine. I look forward to integrating these in to the workflow!
